Monday, 12 June 2017

Photoshop 3D CUBE


Make 3D Photo Cube in Photoshop (and animate it)
http://photoshopcafe.com/photocube-tutorial.htm


***choose images from projects you completed this year***

STEP 1: collect 6 images from each of the categories:

  1. Javascript, 
  2. Photoshop, 
  3. Minecraft, 
  4. Game Journalism, 
  5. Alcohol & Body Systems - N-Squad 
  6. Instructional slideshows
  7. Keyrings
  8. Code Combat
  9. Super Planet Crash and Particle Clicker

STEP 2:  create the cubes in PHOTOSHOP

start Photoshop
NEW - 600x600 - Transparent background


  • PAINT THE BACKGROUND LAYER
  • ADD A TITLE  for example  "CUBE 1: Javascript"
  • ADD YOUR BLOG ADDRESS
  • ADD your first IMAGE
  • MERGE THE LAYERS
  • This will be the 'front' side of the cube. Proceed to fill in all 6 sides with images from the same topic.


You should complete 8 cubes with these topics:

cube 1: Javascript
cube 2: Photoshop Planet + Frame Animtion
cube 3  Minecraft
cube 4: Game Journalism
cube 5: Alcohol & Body systems - N-Squad
cube 6: Instructional slideshows
cube 7: Keyrings
cube 8: Code Combat

bonus 9: Super Planet Crash and Particle Clicker


--> The Animating section in the tutorial is all wrong: SKIP -How to animate a cube in Photoshop - all steps 1-6


use this

Photoshop CC
Animate as follows:

Create a Video Timeline
Choose 3D Meshes and click on 'Cube' stopwatch
ON RIGHT
Choose Filter by: Meshes ICON
then select Cube
Move Player Head to 1 second then rotate cube ...proceed to 2 s...3s etc
...use the Rotate the 3D Object icon at top of page
...aim to see all 6 sides
When the player head is at the very end. Type -under 'angles'- in the coordinates area -top right- 0,0,0
TEST - export as a GIF ( set to forever)


Create an animated gif ...choose the SAVE for WEB option you learned earlier in the semester - make sure it runs forever.


  • Place all the cubes in the same post


Thursday, 8 June 2017

Nothing to Rave About

Nothing to Rave About


http://webadventures.rice.edu/stu/Games/Reconstructors/_701/Game-Overview.html

use the snipping tool to collect each of your decisions

create collage of all your results
https://www.photovisi.com/photovisi/youtube-channel-cover-6


EP1


EP2

EP3

Alcohol & Body systems - N-Squad

---You will need to ENABLE Flash -
Chrome - Settings (3 vertical dots in top right corner)
Show Advanced Settings - Privacy - content settings - Flash - Allows Sites to run Flash

N-Squad


Plunge into the world of the N-Squad and solve an alcohol-related crime.
An adventure game about alcohol and body systems. 
Use the SNIPPING Tool to collect your discoveries.


Wednesday, 7 June 2017

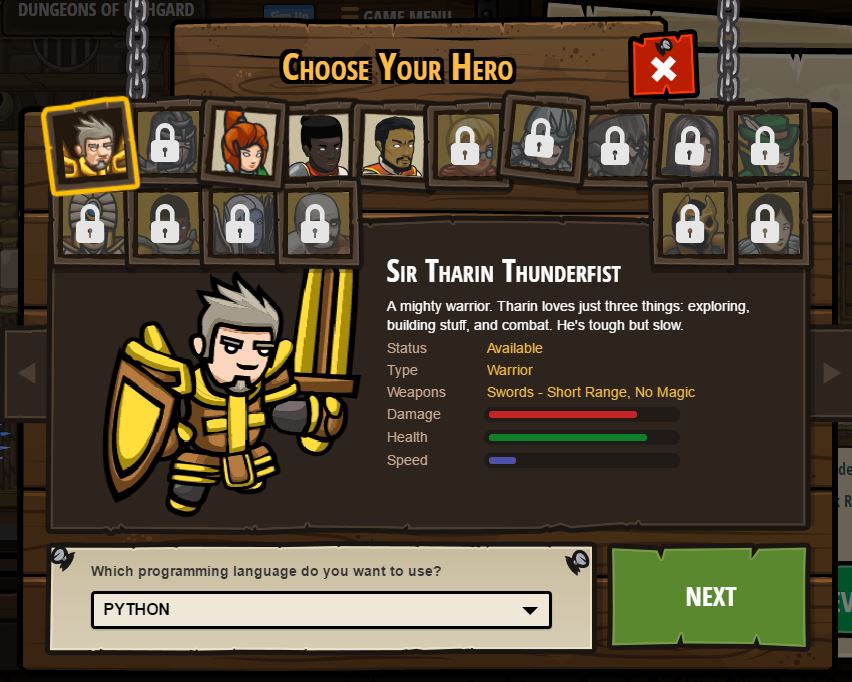
Code Combat


learning PYTHON

you need to login in order to save your progress.


choose your class

BLOCK B            BLOCK C           BLOCK D


Then Begin

Once you finish a level use the 'snippingtool' to capture the image... SAVE ALL IMAGES - at the end create a collage ...add your blog address ...then post it.


There are 21+ levels.


Wednesday, 31 May 2017

Sketchup - Keychains + Spinner

Sketchup 2017

---your goal is six 3D models---


Sketchup 2017
  • load the extension:  windows- extension manager - select sketchup-stl-2.1.6.rbz

Definitely read this: 3D Printing with Sketchup

Marks for each project:

  • post image of (coloured) sketchup image add URL
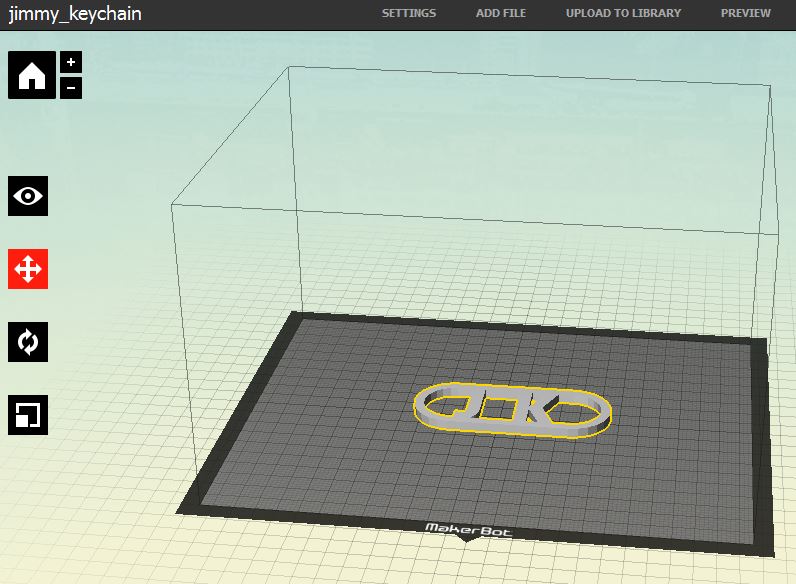
  • post image of STL file in MakerBot add URL
NOTE!!! If the parts of the model appear misisng in makerBot - go back to Sketchup and add a new extension "MakePrintable"


  • create link in blog post to STL file

1. The following Tutorial is for the first 3 
Key Ring projects 
  • #1 Do it once with your initials
  • #2 Do it again with a design you draw in the middle of the OVAL 
    •  3D drawing
    • must be touching edges and/or eachother
  • #3 Do it thrice with a downloadable item from the 3DWarehouse  - inside the OVAL

3D Keyring tutorial (oval with Initials)
3D Keyring tutorial - SketchUp - CRTHS
...note group object before export as STL


2. Import and trace models (Key ring #4 and #5)
  • Do 2 different models
Import a fairly complicated image  - trace it then push/pull it.
Add the OVal that would make it into a keychain.
Post - along with 

  • Sketchup image, 
  • makerBot image, 
  • STL file 
  • ADD the original image


Ideas from:  ... last years Digital Media Blog
http://eqsheppardmedia.blogspot.ca/2016/05/key-chains-part-2.html

The following tutorial describes how to load an image then trace the design into a 3D printable solid.
You may choose any design you wish.

3D Printed Cookie cutters
http://danieltal.com/3d-printed-cookie-cutters/


FINALLY
#6

Hand spinner - fidget spinner - LD Spinner


Design your own
----

design must also contain the caps

IDEAS


dog theme
marbles for weight
Sun Ray theme
NOTE - cap forms bearing
random Number generator
bolts for weight
all bearings capped ninja theme
wind turbine
yin-yang theme
tool spinner

Friday, 12 May 2017

Friday Post May 12 - frame animation


 - Let's do this frame animation tweening tutorial
 - Take Several Screenshots/snipping tool of your progress in Photoshop - add your URL
-  add a caption under each screen shot
-  post the final gif


Animation "heartbeat" photoshop cs3


  • Add a background and foreground

1. create heart shape
2. add f/x


3. Time line and duplicate
4. tween for 1/2 heartbeat


5. second tween for the rest of hearbeat
6. add ribs and background


final product D


Final Product C


Final Product B

Tuesday, 9 May 2017

Photoshop FRAME Animation


1.                   Adobe Photoshop Animation Tutorial
-no AUDIO

LINK


Add a background- URL - other features to make it your own.


2.a Repeat the tutorial - add details - add the opponent -  throw the ball - explode


2.b  fight with TWEEN animation - a beginning - a middle - an end

_-_-_-_-_-_-_-_-_-_-_-_-_-_-_-_-_-_-_-_-_-_-_-_-_-_-_-_-_-_-_-_-_-_-_-_-_-_-_-_-_-_-_-_-_-


3.                   Animation "heartbeat" photoshop cs3

LINK

 
Add a background and foreground

4. Following the heartbeat tutorial 
Living parts

Find a skeleton and place these into it.


_-_-_-_-_-_-_-_-_-_-_-_-_-_-_-_-_-_-_-_-_-_-_-_-_-_-_-_-_-_-_-_-_-_-_-_-_-_-_-_-_-_-_-_-_-
5.         Photoshop Tutorial - How To Create an Animated GIF


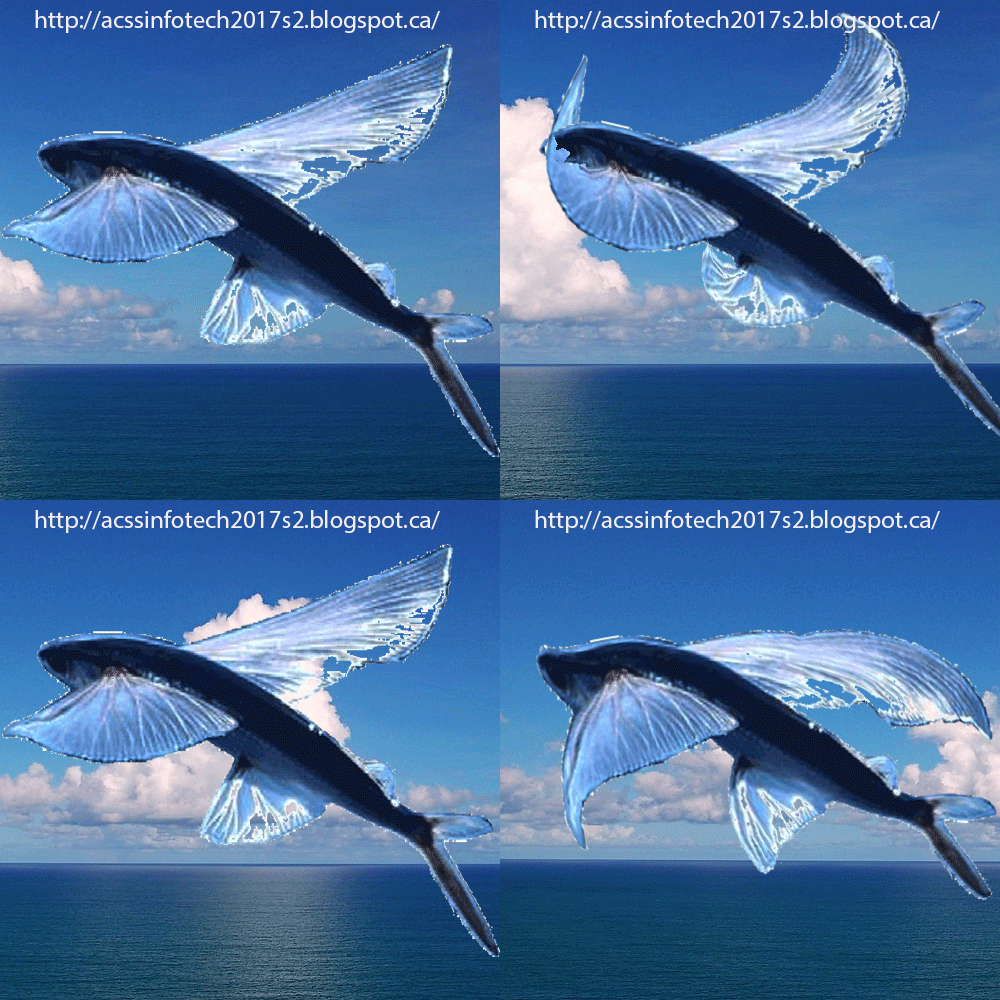
6. It takes off - it flies - it lands 
- a different moving background for each 


7.  Choose a story:   DarwinAwards

break it down into scenes
animate it with all the tools you just learnt
in addition to your URL
add plenty of comments
to explain what is happening

  • use real images
    • use puppet warp to move them (flying animation)
  • use drawn images
    • use 'make frames from layers' (Rasengan)
  • From images on separate layers 
    • use tweening to animate each separately (Tween animation - volleyball)
  • multiple moving backgrounds to suite each scene change
  • tween for smoothness and realism
  • use layer effects as well (Heartbeat)
PHOTOSHOP SCREEN SHOTS AS YOU CREATE (just like the friday post)
The Bricklayer's Disaster
 

Mythbusters- Barrel of Bricks