1. What did you like about the course? 2. What could be improved? 3. Add a picture from your favourite assignment. 4. What should you have done to do better in this course?
***choose images from projects you completed this year*** STEP 1: collect 6 images from each of the categories:
Javascript,
Photoshop,
Minecraft,
Game Journalism,
Alcohol & Body Systems - N-Squad
Instructional slideshows
Keyrings
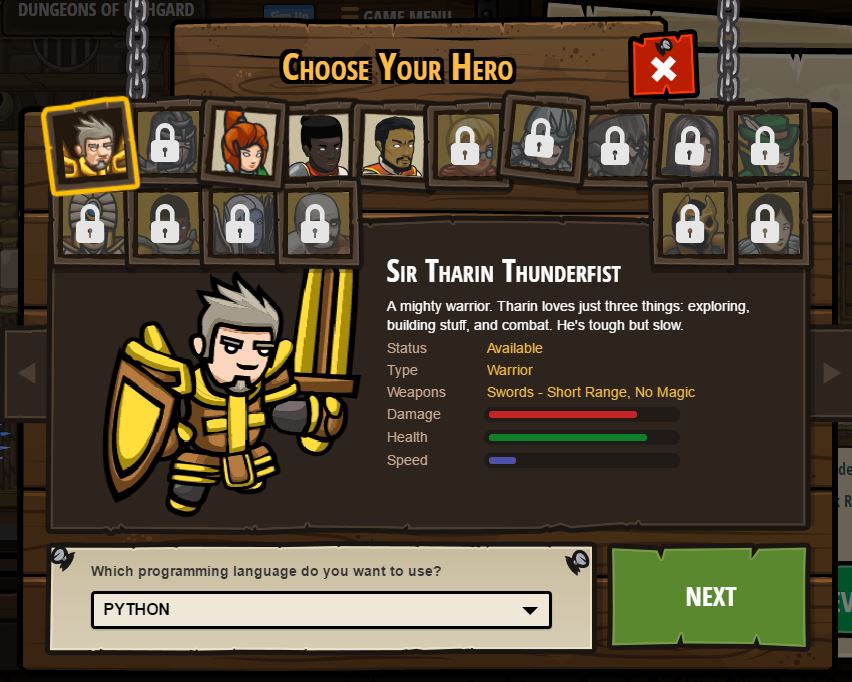
Code Combat
Super Planet Crash and Particle Clicker
STEP 2: create the cubes in PHOTOSHOP start Photoshop
NEW - 600x600 - Transparent background
PAINT THE BACKGROUND LAYER
ADD A TITLE for example "CUBE 1: Javascript"
ADD YOUR BLOG ADDRESS
ADD your first IMAGE
MERGE THE LAYERS
This will be the 'front' side of the cube. Proceed to fill in all 6 sides with images from the same topic.
You should complete 8 cubes with these topics:
cube 1: Javascript cube 2: Photoshop Planet + Frame Animtion cube 3 Minecraft cube 4: Game Journalism cube 5: Alcohol & Body systems - N-Squad cube 6: Instructional slideshows cube 7: Keyrings cube 8: Code Combat bonus 9: Super Planet Crash and Particle Clicker
--> The Animating section in the tutorial is all wrong: SKIP -How to animate a cube in Photoshop - all steps 1-6
use this
Photoshop CC Animate as follows:
Create a Video Timeline
Choose 3D Meshes and click on 'Cube' stopwatch
ON RIGHT
Choose Filter by: Meshes ICON
then select Cube
Move Player Head to 1 second then rotate cube ...proceed to 2 s...3s etc
...use the Rotate the 3D Object icon at top of page
...aim to see all 6 sides
When the player head is at the very end. Type -under 'angles'- in the coordinates area -top right- 0,0,0
TEST - export as a GIF ( set to forever)
Create an animated gif ...choose the SAVE for WEB option you learned earlier in the semester - make sure it runs forever.
Once you finish a level use the 'snippingtool' to capture the image... SAVE ALL IMAGES - at the end create a collage...add your blog address ...then post it.
- Let's do this frame animation tweening tutorial - Take Several Screenshots/snipping tool of your progress in Photoshop - add your URL - add a caption under each screen shot - post the final gif
Learn to create the toy Video creating the Toy - (Talking is good option) Editthe video: Captions, blog URL, Title, Name and sf/x POST video - MUST BE EMBEDDED - not just a link to YouTube -
If you choose "EASY" then you will need to do 2. 1. Paper 'Catapult' (EASY) LINK


